

THE DRIVER WILL DO THEIR WALK-AROUNDS BY LAW. If a nut has backed off as little as 50 ft-lb, the driver can notice if he observes closely. Once the nut has backed off 100 ft-lb, the movement is easily noticeable.
INSTALLATION OF RED WHEEL-TORQUES. If the driver notices a nut has moved, the driver would remove the yellow Wheel-Check®, retorque the loose nut and then replace with a red Wheel-Torque. This would identify the loose nut to the maintenance shop at a simple glance and they will know that the whole wheel must be carefully serviced.
The use of Wheel-Check® in no way guarantees wheel-offs will not occur.
High temperature Wheel-Checks are available.
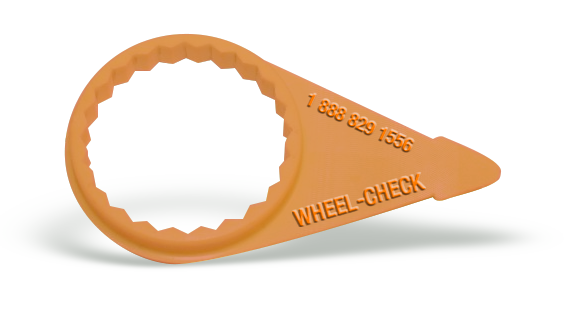
Custom sizes and colors are available upon request.
Wheel-Checks are reusable.

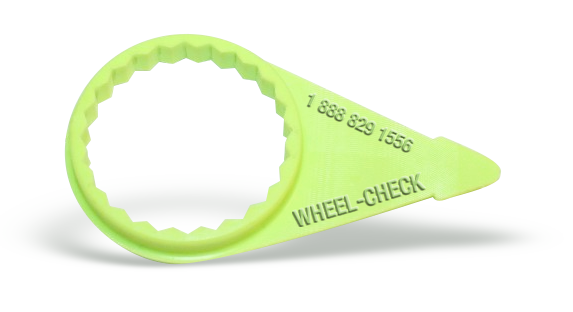
WHEEL-CHECK®: High visibility loose wheel-nut indicator
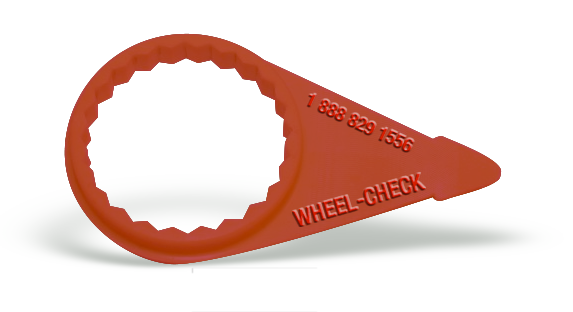
WHEEL-TORQUE: Red torque indicator used to mark a nut has backed off, and maintenance is aware of the problem
WHEEL-CHECK®, HIGH TEMPERATURE: Loose wheel-nut indicator that withstands higher temperatures

WHEEL-CHECK®, CUSTOM COLORS: Custom colors and sizes are available upon special request.
© All Rights Reserved. WHEEL-CHECK®, THE LOOSE WHEEL-NUT INDICATOR. "Over 25 years helping roads to be safer."
*The use of Wheel-Check® in no way guarantees wheel-offs will NOT occur.